3. Merchant Account Setup
Before integrating SADAD Web Checkout 2.1, you must complete the merchant account setup and obtain the required credentials from the SADAD Merchant Panel.
This is a one-time setup.
Prerequisites
Ensure that:
- Your SADAD merchant onboarding is approved
- You have access to the SADAD Merchant Panel
- You know whether you are integrating in Test or Live mode
Step-by-Step Account Setup
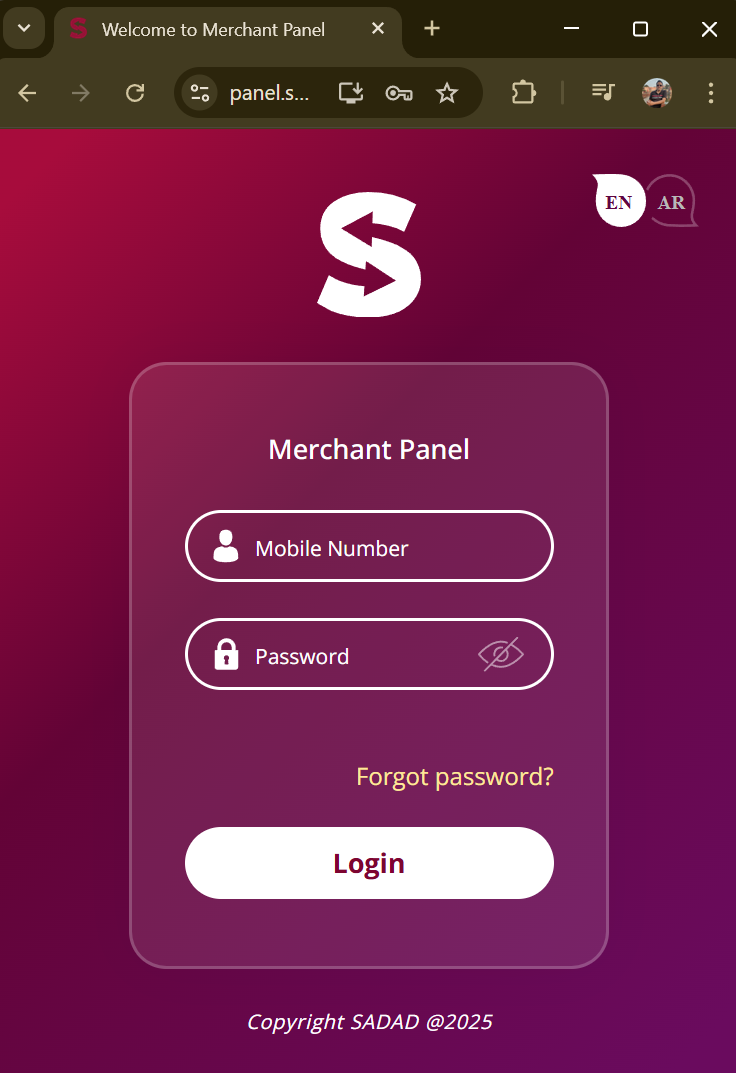
1️⃣ Log in to the SADAD Merchant Panel
Access the panel using your registered credentials:
2️⃣ Navigate to Payment Gateway Settings
- From the top menu, ensure Online Payments is selected
- From the left-side menu, click Payment Gateway
This section contains all configuration options related to online payment integrations.
3️⃣ Generate Your Secret Keys
Within the Payment Gateway section:
- Locate the API / Secret Key settings
- Generate or copy:
- Test Secret Key (for sandbox transactions)
- Live Secret Key (for production transactions)
Each merchant has separate keys for Test and Live environments.
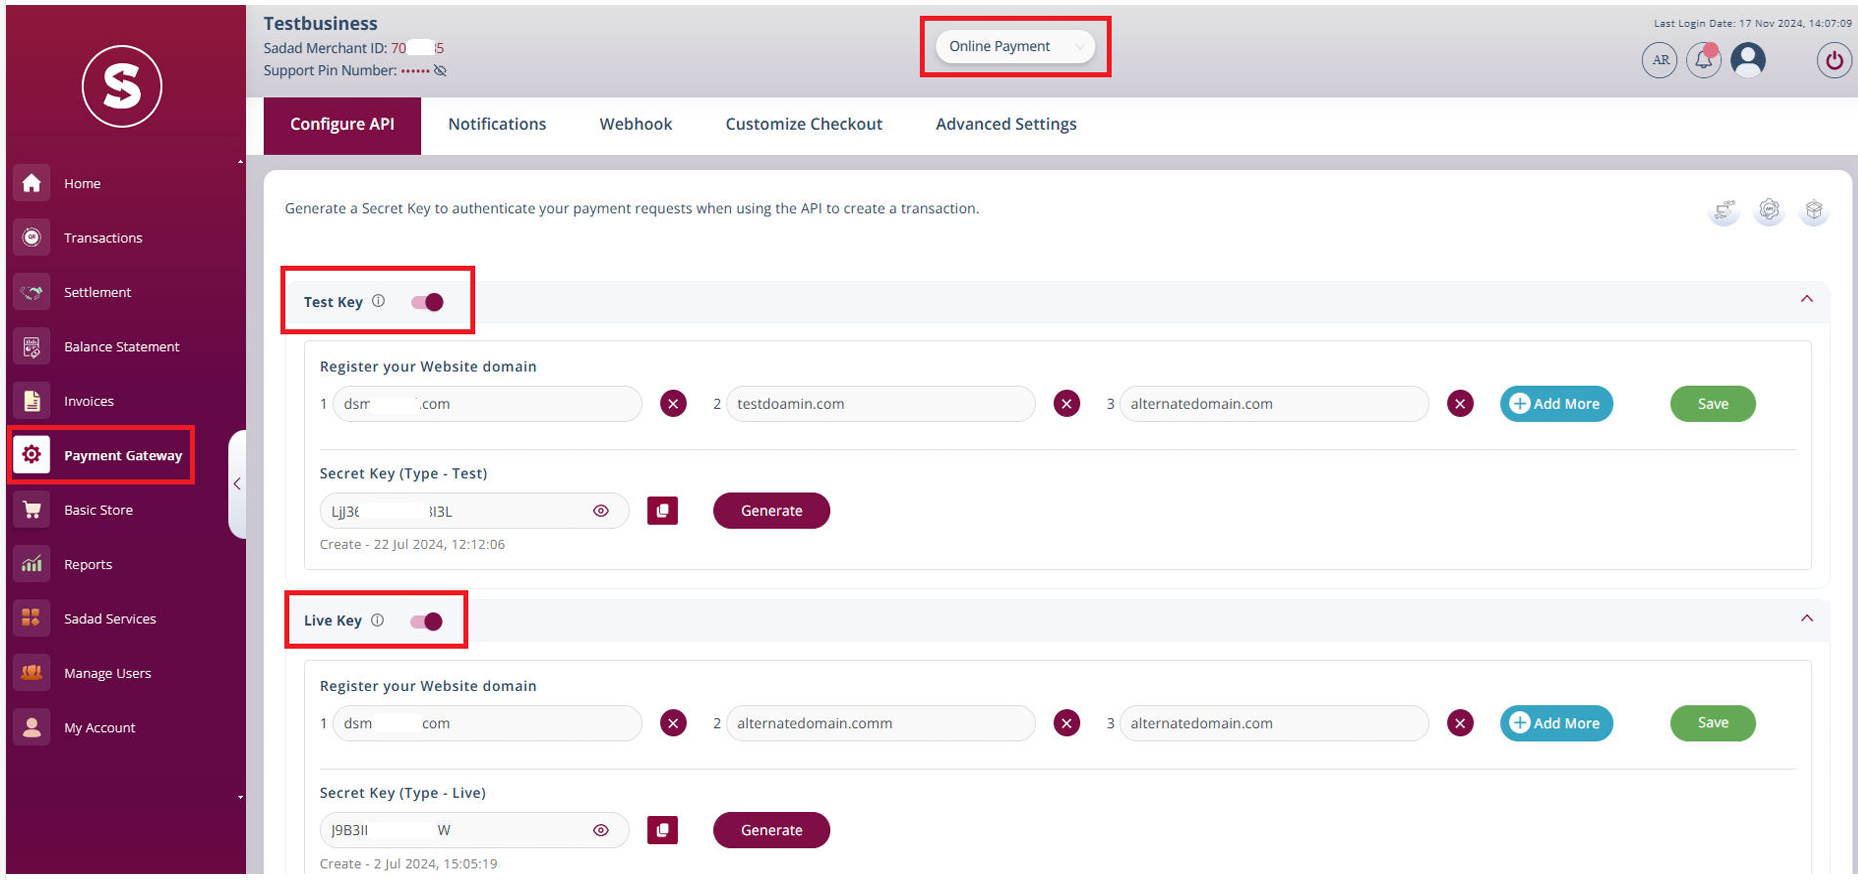
4️⃣ Note Your Merchant ID (MID)
Your Merchant ID (MID) is displayed in the Merchant Panel.
This value is required in all payment requests, callbacks, and webhook notifications.
Understanding Test vs Live Mode
-
Using a Test Secret Key:
- Opens the Sandbox Checkout
- No real funds are involved
-
Using a Live Secret Key:
- Opens the Live Checkout
- Real transactions are processed
There is no separate endpoint for test or live mode. The environment is determined solely by the Secret Key used.
📘 For more details:
→ Environments – Test & Live
Security Best Practices (Important)
- Never expose Secret Keys in frontend code
- Never commit keys to source control
- Always generate signatures server-side
- Rotate keys immediately if they are compromised
Treat Secret Keys with the same level of security as passwords.
What’s Next?
After completing the account setup, proceed with the integration in the following order:
Need Help?
If you face issues accessing the Merchant Panel or generating keys, contact:
Please include:
- Merchant ID
- Environment (Test or Live)
- Screenshot (if applicable)
This helps resolve issues faster.